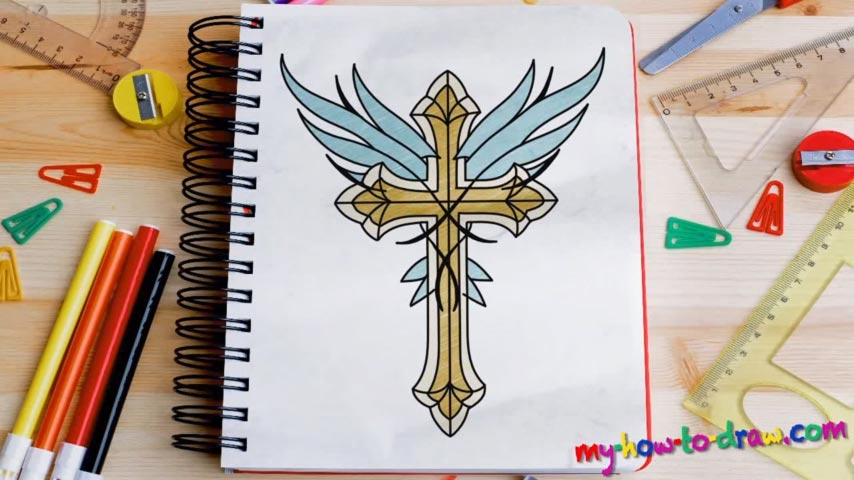
Learn How to draw A Cross With Angel Wings Quickly & Easily!
First of all, place your piece of paper right and try to match its size with mine. Next, use only dark strokes for every single line and be very accurate with your strokes. Alright, now we start to learn how to draw a Cross With Angel Wings (00 min 28 sec). Create a simple cross in the middle of the composition that consists of two primitive lines.
Next, add two sets of identical curves on both sides. If everything looks good, use these “guidelines” to outlines the 3D image of our cross. Once you’re done, the drawing will start to look like the real thing. But we’ve still got some work left to do. Keep adding curvy lines to form the upper part of the composition (02 min 31 sec).
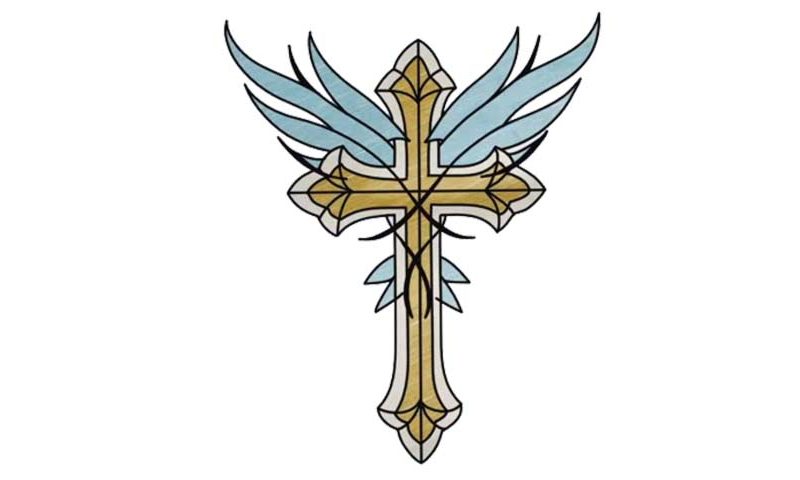
This stage of our how to draw a Cross With Angel Wings is pretty easy and straightforward. You won’t even have to follow our video-course blindly. Just make sure everything comes with the right size and is placed correctly. The wings will make the cross look even more majestic than it already is. Before you move on to painting, don’t forget to add all those additional details inside the cross (04 min 55 sec).
Before you learn how to draw A Cross With Angel Wings, did you know?
Doesn’t that cross look impressive? It represents the very essence of the Christian religion and will fit nicely in your portfolio. As a drawing, it’s actually not that hard and you’ll be able to handle it even if you’re just a rookie.
Let our video guide you and don’t be afraid to go over certain parts again and again until you “nail” them. Use a combination of golden-yellow, white and blue to paint the cross. As always, you’re more than welcome to try different combinations. But the one you see in the tutorial looks great and matches the message perfectly.