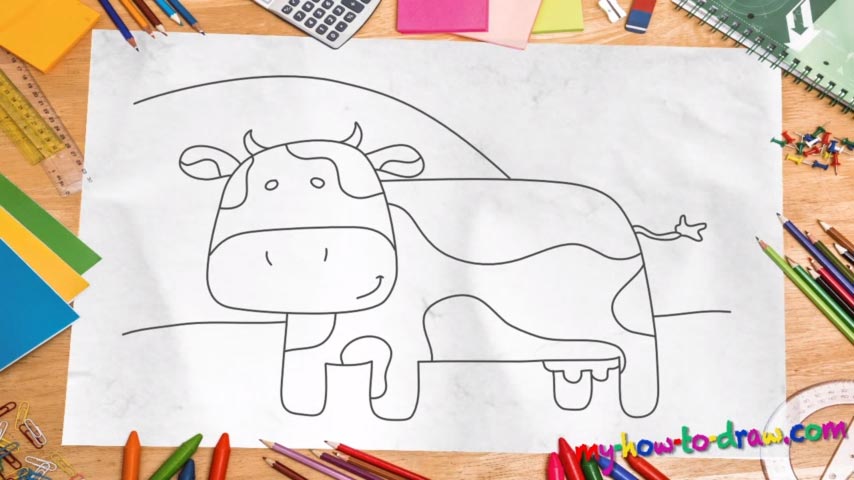
Learn How to draw A Cow Quickly & Easily!
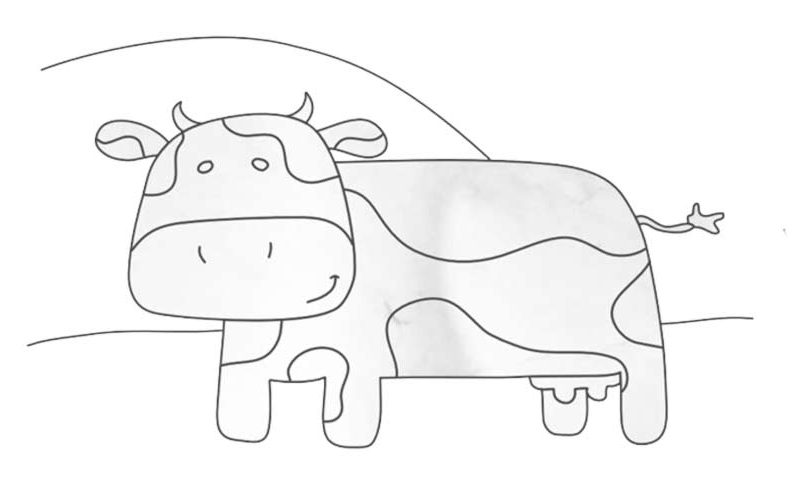
Please keep in mind that this is a cartoon drawing, which means we’re not going for 100% accuracy. For example, we begin to learn how to draw a Cow with the head, and it’s pretty big and “rectangular” (00 min 27 sec). It does look cute though, doesn’t it? Once it’s in place, use a horizontal line to cut it into two separate parts (00 min 40 sec). Make it straight in the middle but curvy in the beginning and the end.
As for the facial features, you’ll need two super-small circles for the eyes, two identical lines for the nose and one curvy line for the mouth in the bottom left corner. If everything looks great, go ahead and add the horns and the ears. First of all, they look alike; second, you’ll be done with them in no time, because the shapes are as simple as they come. Ok, now it’s time to move on to the next big stage of our how to draw a Cow tutorial – the body (01 min 12 sec).
You’ll need a super-long line that goes straight and then curves down to shape the back and the rear leg. Please keep in mind that all four legs are pretty much identical (except for the one that’s covered by the udder). The tail is the final step (01 min 53 sec). Make it short and with a fluffy part at the end. And before you say goodbye, don’t forget to draw a series of curvy lines to define the different color patterns for our cow.
Before you learn how to draw A Cow, did you know?
Despite the fact that the majority of the world’s population has never seen a cow in real life, we all have a certain image of them in our heads. Thanks to the cartoons and comic books, these animals have a strong presence in our minds. We, the humans, use their milk and meat for obvious reasons.
At the same time, the cows benefit from the warm shelter, the food, and the protection. Out there in the wilderness, on their own, these creatures won’t last for long. Guess that means the humans and the cows were made to be together!