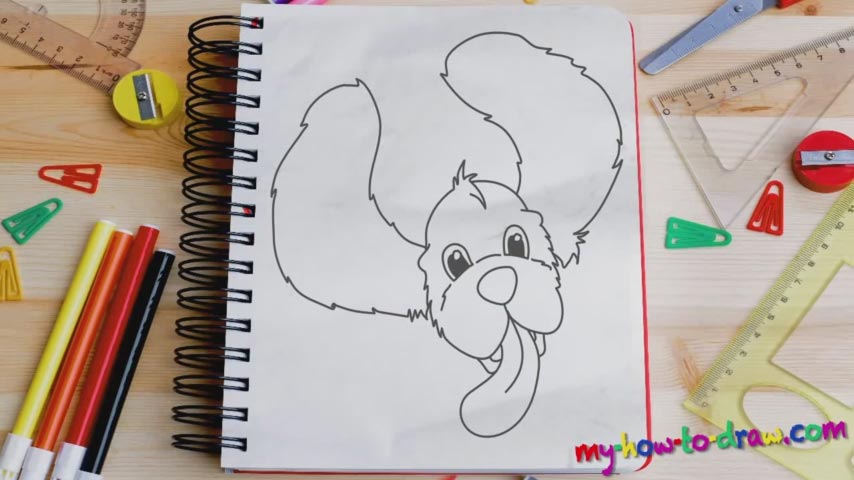
Learn How to draw A Cocker Spaniel Quickly & Easily!
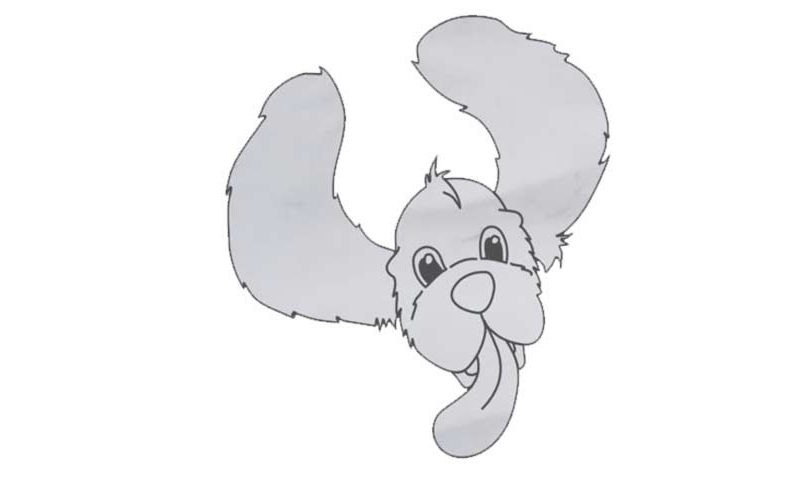
We start this tutorial with the nose, the cutest part of this drawing (00 min 30 sec). Once that’s in place, move on to the eyes. They look like tiny “capsules” and are identical to each other. In the next stage of this how to draw a Cocker Spaniel tutorial, we take care of the lower part of the head (01 min 17 sec). Add two curvy lines (they look the same) and only then get to the sides.
Make them a bit fluffy to accentuate that this is, indeed, a Spaniel. See that cute strand of hair on top (01 min 57 sec)? Connect it with the rest of the lines and you’ll be pretty much done with the head. The ears, the biggest and the most in-your-face part of this how to draw a Cocker Spaniel tutorial, follow quickly (02 min 16 sec).
I personally recommend introducing tiny differences between the ears, because that way, they will look a lot more realistic. Make the lines extra zigzaggy and simply follow your hands – they will get this done. The tongue is the final stage (03 min 09 sec). There’s nothing to it, but you should try to keep the size close to that in my drawing.
Before you learn how to draw A Cocker Spaniel, did you know?
There are two breeds of these adorable tiny dogs – the English and the American ones. Originally, they appeared in the UK; later, the humans took them all the way up to the United States. Since then, we’ve got two distinctive breeds separated by the ocean.
Obviously, with that cute face and miniature size, the Spaniels are a very popular pick for the kids and the adults as pets. They are especially popular back at home – in the United Kingdom. If this is your first time taking a dog home, rest assured that you’ll have an awesome experience with your new four-legged friend!