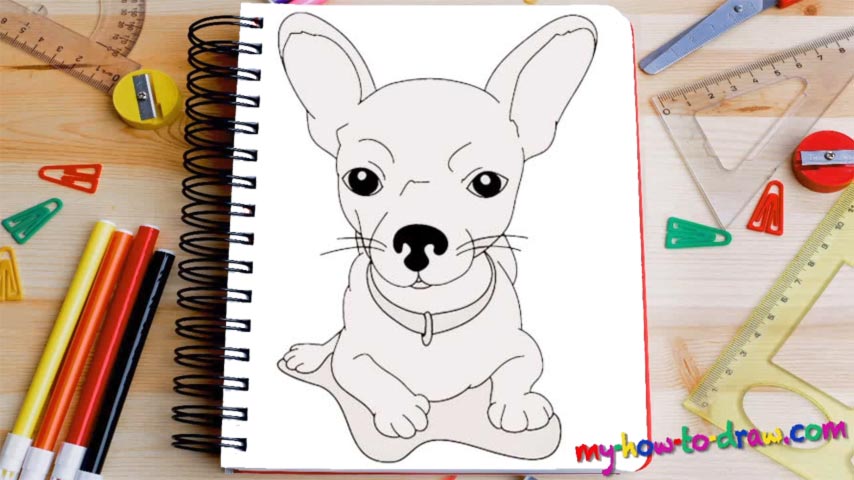
Learn How To Draw A Chihuahua Quickly & Easily
If you’ve been keeping up with our video guides, then you must already know that we usually like to start with the eyes or the nose. In this how to draw a Chihuahua tutorial, we decided to kick it off with the nose (00 min 05 sec). Paint it black right now so that you don’t have to come back to it later. The two curves at the bottom are the foundation for the entire head.
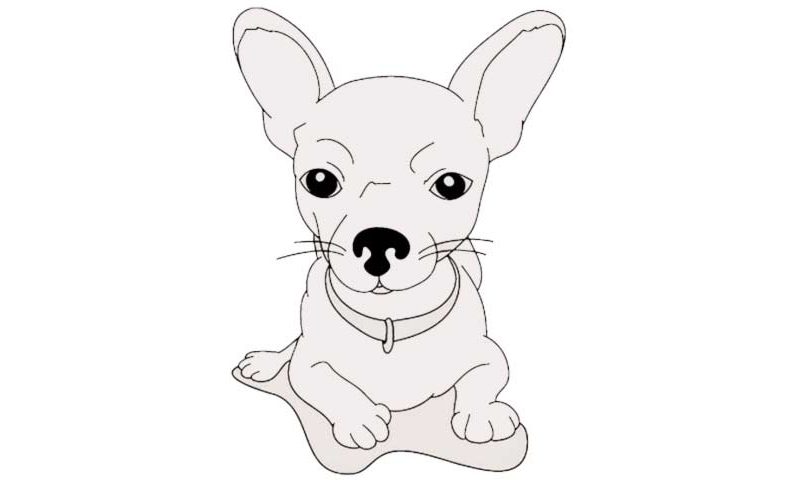
The eyes sit right above them, as do the rough lines on the sides and at the top (00 min 08 sec). And before you move on to the ears, make sure you draw the pupils and add the brows first (00 min 12 sec). Are you satisfied with the results so far? Good, then it’s time to take care of those ears we just mentioned (00 min 16 sec). They are identical to each other and quite easy to draw. Use smooth curves for the outer side and fluffy ones for the inside line.
The next step in this how to draw a Chihuahua tutorial – the body – is, objectively, the easiest part (00 min 25 sec). See that collar? Put it in first (00 min 32 sec). We can only see three legs in this drawing, with the ones in the front grabbing most of the attention (00 min 40 sec). Don’t try to complete this stage in one go: do it in several steps, just like I did. The whiskers come next!
Before you learn how to draw A Chihuahua, did you know?
Dogs are among the most popular pets in the world, and Chihuahua is one fine breed. The name comes from a state in Mexico where these creatures were originally bred. There are many combinations of colors and coat lengths, and the puppies look extremely adorable.
In America, the kids really love these dogs, and that love became even bigger after the 2007 movie “Transformers” hit the theaters. If you want a tiny pet to run around in your backyard without causing you any trouble with the neighbors, make sure to check this breed out.