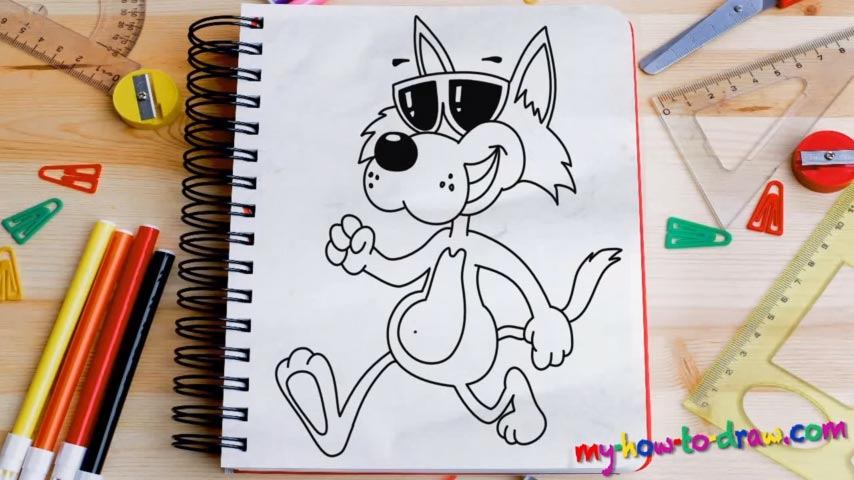
Learn How To Draw A Cartoon Cat Quickly & Easily!
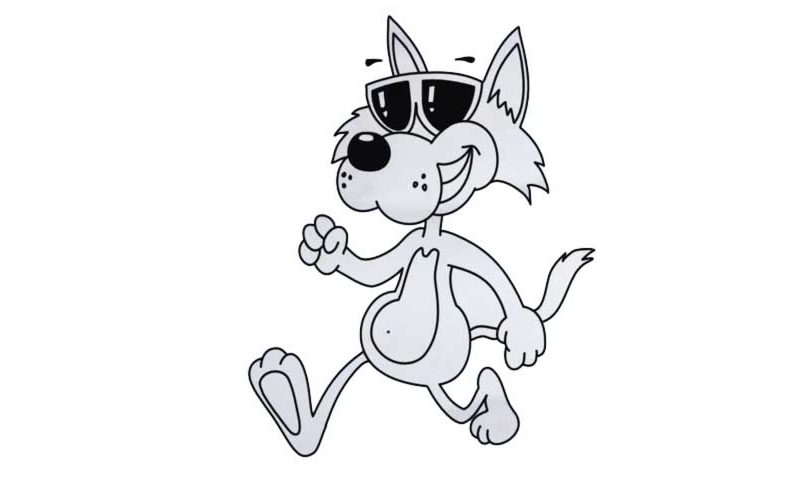
Doesn’t that cat look cool? Yep, it does, and that is exactly why we’ll be drawing it in this tutorial. We start learning how to draw a Cartoon Cat with the cute nose (00 min 27 sec). Next stop is the rest of the face (00 min 40 sec). Create a shape that looks a bit like a cloud and add two curvy lines like I did in the video for the mouth. Alright, now it’s time for the glasses (01 min 07 sec).
They’re pretty simple and identical to each other. And, there are two white exclamation marks while the background is black – make sure to depict that in your drawing. If everything is good, move on to the ears (02 min 00 sec). They look like double triangles and won’t be a problem. The fluffy parts on both sides of the face will make it look more like a cat, so, don’t forget about that part of the how to draw a Cartoon Cat tutorial.
The left hand comes next (02 min 45 sec). It’s pretty slim, just like the right one. The belly is simple and doesn’t come with any complex details. Same goes for the legs (03 min 34 sec). Note: when it comes to the legs, try to get the proportions right. The rest is pretty straightforward and you’ll get it right after a couple of tries.
Before you learn how to draw A Cartoon Cat, did you know?
Regardless of whether you like it or not, there’s no denying the fact that cats are incredibly popular these days, mainly thanks to the rise of the social media. People post funny picks with these brutes and get millions of likes, reposts, and everything else in between.
Cats have been domesticated animals for quite a while now. Living side by side with mankind, they’ve developed a certain kind of bond with us. So, if you’ve got one at home, we bet this tutorial will be that much more exciting for you.