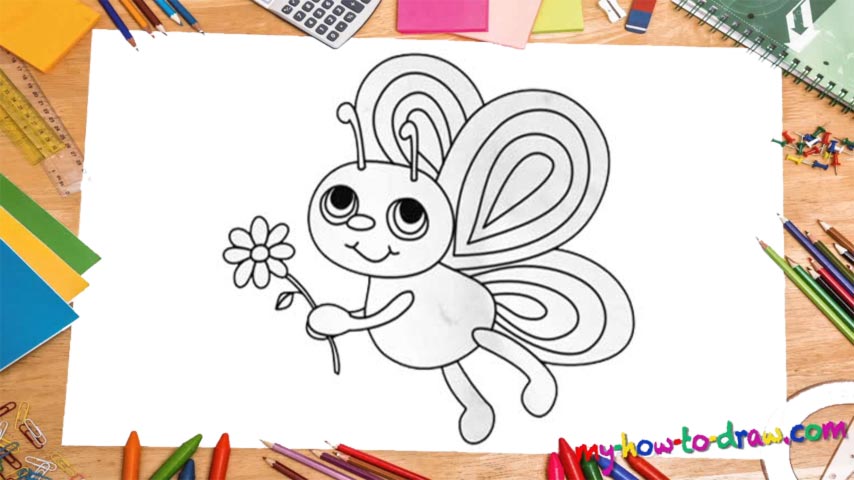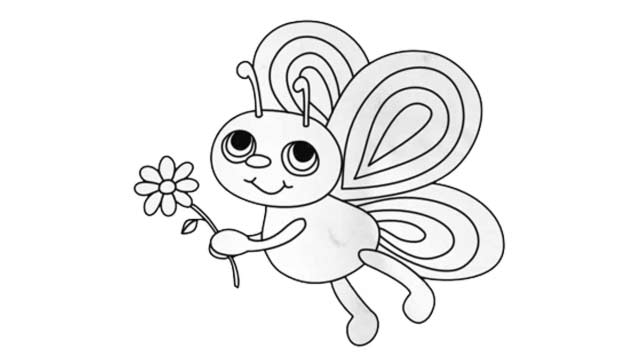
Learn How To Draw A Butterfly Quickly & Easily!
First of all, place your paper right. Next, use a pencil with dark strokes. And finally, get in the right mood :). Ok, now we can learn how to draw a Butterfly! That tiny oval shape we begin with is the nose (00 min 30 sec). The much bigger circles on both sides are, of course, the eyes. They are identical, but the left one practically “sits” on the nose (00 min 43 sec). The mouth is just a simple yet curvy line just below it.
The “antennas” come next (01 min 02 sec). Make sure the one on the left is bigger than the right one. Use a big circle for the head and move on to the simple shape that looks like a spoon but is actually its hand (01 min 20 sec). Out butterfly is holding a flower in its hands. Don’t worry: you won’t have to draw every single finger around it. Just do everything like you see in the video. The legs on the other side of the paper look a lot like the hand, by the way (01 min 46 sec).
The final part of our how to draw a Butterfly tutorial, the body, is just a simple shape connecting every single part of this composition. Wait, we forgot about the wings (02 min 10 sec). They are actually bigger than the insect itself! Thankfully, we won’t have any problems drawing them, because they are very straightforward.
Before you learn how to draw A Butterfly, did you know?
These gorgeous insects are loved and cherished all over the globe. Some nations and religions even consider them to be holy. First of all, they are a sight for sore eyes. Second, they usually don’t hang around long, which means they live every single day to the fullest.
There are numerous butterfly species on planet Earth, and they’ve been around since the early days of creation, long before we, the humans, came around. Some scientists claim that the first butterflies appeared on the planet more than 56 million (!) years ago.