Learn How To Draw A Bulldog Quickly & Easily
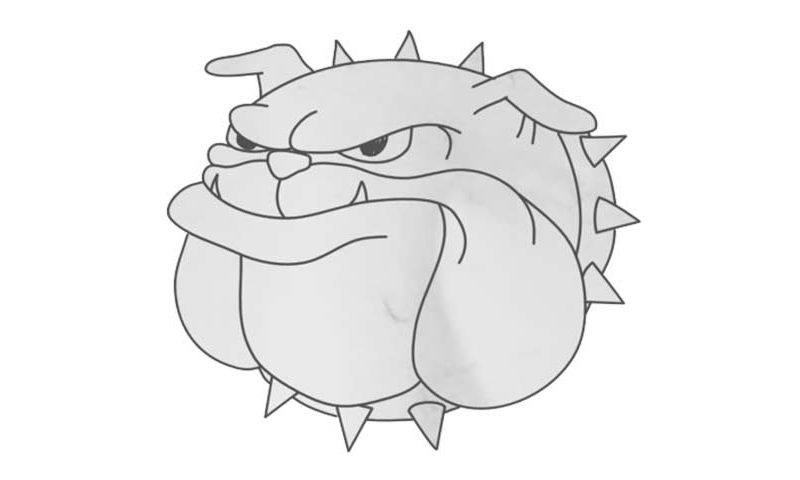
We start this tutorial with a long curve for our character’s upper lip (00 min 30 sec). Once it’s in place, go ahead and add the nose (00 min 42 sec). Next, work on the right cheek and gradually move to the left one (00 min 51 sec). If you want to learn how to draw a Bulldog tutorial the right way, follow my guide and repeat my every move.
Basically, you’ll need three big and round curves to complete the lower half of this drawing. Once those are done, don’t forget to create the tiny teeth (two in total) right below the dog’s nose (01 min 14 sec). For the curves, you’ll need two similar shapes that “squeeze” the eyes (01 min 25 sec). The eyes are pretty tiny and come with black pupils from the get-go (01 min 37 sec). Thankfully, every single part of this how to draw a Bulldog tutorial is easy.
And now we get to the final stage. The ears look ridiculous but fit the whole “vibe” perfectly (02 min 10 sec). After these antennas are in, use a smooth curve to cover the top of its head (02 min 40 sec). The final things to take care of are the spikes surrounding the animal. You’ve got nine in total: three on top, three on the right side, and three at the bottom.
Before you learn how to draw A Bulldog, did you know?
This scary face of a fierce bulldog will be chasing you in your dreams. It’s got that nasty expression that screams trouble. On the other hand, the head is the only thing we’ll have to worry about, which makes this tutorial that much easier to handle.
These dogs live for 8-10 years and can be as heavy as 25kg. The key features include loyalty, social activity, and, of course, great hunting skills. The average bulldogs can be as tall as 40cm and love to live in the wilderness where they belong. So, if you own one, don’t forget to take it for a walk every now and once.
