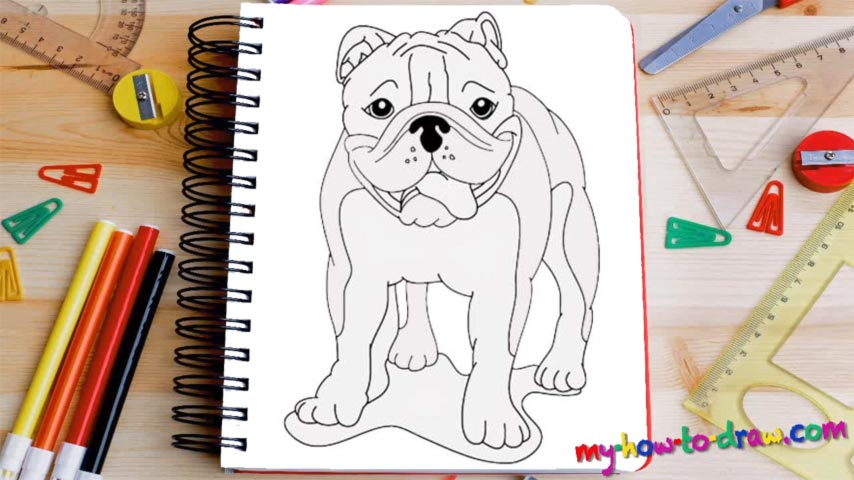
Learn How To Draw A Bulldog Fast Quickly & Easily
Doesn’t the doggy look great? I recommend starting this drawing with the nose – the most famous part of this breed (00 min 05 sec). The eyes are super-tiny, while the tongue coming out of its mouth further accentuates the cuteness (00 min 08 sec). This how to draw a Bulldog Fast tutorial comes with numerous details on the face. They make it look realistic; so, follow me closely on this one.
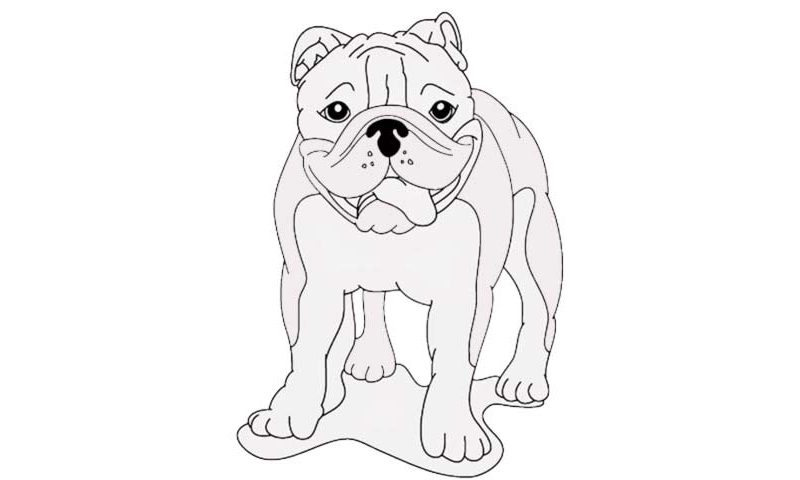
For the lower part, you’ll need several similar curves for the mug (00 min 20 sec). The upper half is simpler and doesn’t come with nearly as many nuances (00 min 25 sec). The wrinkles and the stiff brows give it that classic British look that you can’t mistake with anything else (00 min 32 sec). The ears are pretty small and fluffy on the inside. The body is the final step in our how to draw a Bulldog Fast tutorial (00 min 45 sec).
Start by adding three curvy lines at the bottom of the head to outline the legs. The ones in the front are bigger and more in-your-face. But, overall, they all look the same and come with four fingers (01 min 00 sec). If you get the angle and the dog’s position right, this part will be easy for you. The line on the far right for the rear left leg will play a key role in that.
Before you learn how to draw A Bulldog Fast, did you know?
These medium-sized dogs are very popular in modern-day culture and have a strong presence in the legendary cartoons. You’ve got the English and the American breeds that are loved and cherished all over the world. And, they’re something of an icon for the UK.
Big, muscular, and with a unique nose that you’ll never forget, this breed became famous during WW2. The British men and women loved to compare it to the PM – Mr. Churchill – because of its determination and that lazy attitude. In 1890, these dogs arrived in the USA.