Learn How To Draw A Boy Quickly & Easily
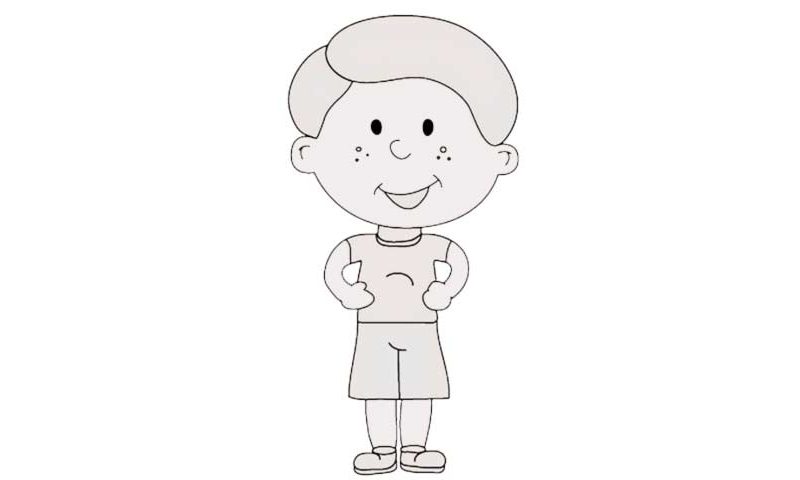
We start with outlining the basics, which include the cute nose, the mouth (just one simple curve right below it) and the top of the hair that looks like a sausage (00 min 05 sec). Next, we add the left part of the kid’s hair, a reversed “C” for the lower lip, and a horizontal curve for the lower jaw (00 min 08 sec). That’s the intro to our how to draw a Boy tutorial.
If everything’s looking good, go ahead and create the ears (again, two C-like shapes) and the hands at the bottom of the head (00 min 16 sec). The hands are nice and skinny, and the t-shirt doesn’t come with any details (00 min 20 sec). The shorts might look like a skirt at first, but after you add that crotch, you’ll start to see those legs (00 min 32 sec).
The boots are identical and sit at the very bottom of the paper. The legs are quite short (00 min 36 sec). The last thing to do in this how to draw a Boy tutorial is put in the eyes. They’re just two tiny black ovals right above the nose (00 min 40 sec). And then there are the freckles on his cheeks. Ok, now we’re officially done! The final result looks pretty great, doesn’t it, especially given the fact that we completed it in less than 1 minute!
Before you learn how to draw A Boy, did you know?
This is a classic image of a post-WW2 boy that was very popular in the American schools. It’s a relatively primitive drawing with the trademark features of the retro style. Those include a fancy haircut, and, of course, a huge head that’s as big as the body.
The boy has a regular t-shirt and shorts on that make him look like a summer camp type of a kid. Overall, this composition is a piece of cake if you’ve got years of experience behind your back. And if you’re just starting out, it will be perfect for improving your skills.
