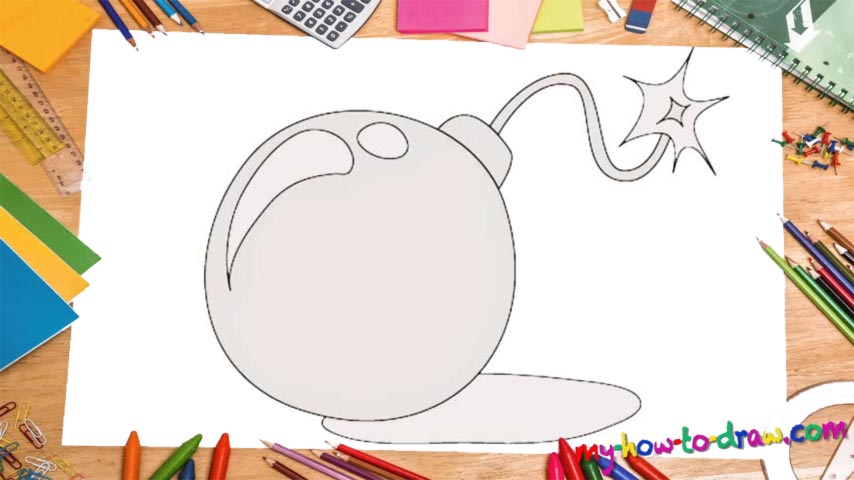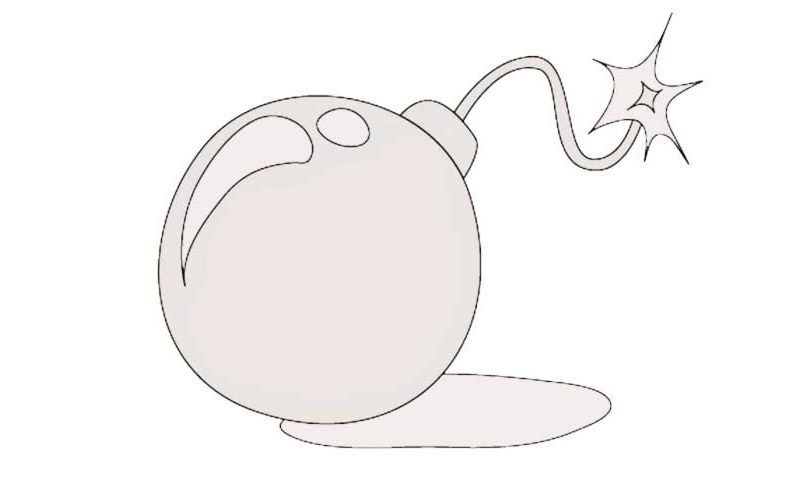
Learn How To Draw A Bomb Quickly & Easily
This is one of the easiest, most fun, and, well, explosive tutorials on our website. It might look like a Christmas toy at first, but it’s actually quite dangerous. We begin to learn how to draw a Bomb with a huge circle for the main body (00 min 05 sec). It should sit in the bottom left corner of the paper. And now let’s jump to the right corner and add the burning wire, or, rather, cord. (00 min 12 sec).
It looks like a tiny star inside of a much bigger one. Once it’s in place, use the cord that looks like a reversed “S” to connect it to the bomb (00 min 25 sec). It’s pretty short in my example. If you want, go ahead and make it longer – that won’t change anything, though. If you’re satisfied with everything at this point, go back to the bomb and create two simple shapes to emulate the light (00 min 30 sec).
That’s pretty much it for our how to draw a Bomb tutorial. The last thing to do is to add the shade at the bottom of the paper (00 min 35 sec). That was quite easy, wasn’t it? Keep trying different combinations of the cord, the bomb, and the explosion to get your perfect mix. As for coloring, use black for the main part and maybe white for that cord.
Before you learn how to draw A Bomb, did you know?
According to the historians, the Chinese were the ones who came up with the perfect formula for a bomb. By using a mix of various explosive materials, they created a devastating weapon that put the fear of God in the hearts of their enemies.
Bombs have been around since the 11th century; humanity used that time to perfect the original concept, and today we have missiles that can fly across the ocean and destroy entire cities with one single blow. The word comes from a Latin slash Greek term.