Learn How to draw A Bird Quickly & Easily!
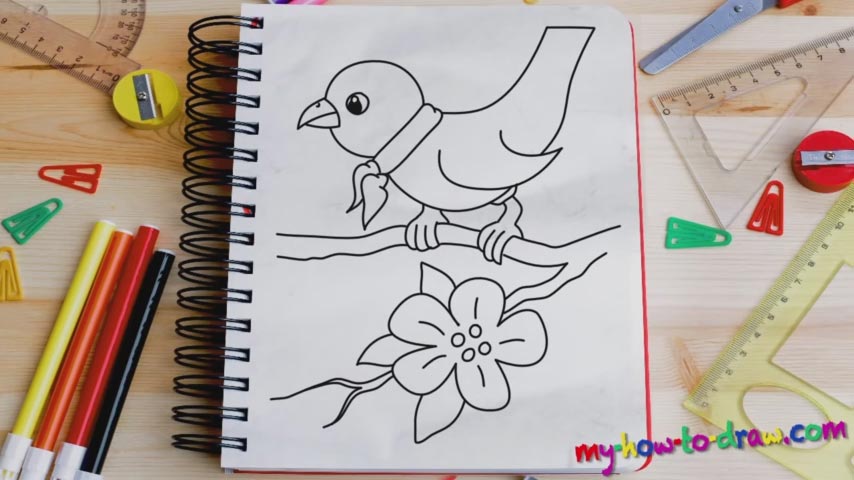
Obviously, you should place your paper horizontally if you want to have the same success as I did. And, use a marker for a solid result. Start this how to draw a Bird tutorial with the one and only eye (00 min 29 sec). Next, add the beak (00 min 42 sec). It’s pretty spiky – make sure you do the same in your drawing. The curvy line that follows will outline the top of its head. See that nice collar/scarf/whatever (01 min 00 sec)?
It’s a piece of cake, really, but it’s still an important part of this composition. Use a series of curvy lines to draw the birdy’s body (01 min 23 sec). Try to make these lines as smooth as possible. I recommend drawing the feet before moving on to the tree on which our hero is sitting (01 min 51 sec). That way, you’ll be able to “map” everything and be accurate with your sizes and proportions of the individual elements.
That branch, the next stage of our how to draw a Bird tutorial, is not a straight line. Nature always comes with more intricate curves. The final parts – the leaf and the flower – are relatively easier than the rest of this composition (02 min 43 sec). I bet you’ll get it all right from the very first try!
Before you learn how to draw A Bird, did you know?
Birds are all around us. We see them every single day; yet, we know almost nothing about these creatures. The scientists claim that the first birds appeared +/- 120 million years ago, which is long before mankind came around. There are many bird species out there.
However, since the seventeenth century, more than 100 species became extinct thanks to our violent actions. Currently, we’re endangering 1200 more! So, let us use this tutorial to draw a nice picture of a bird and turn the world into a better (and more caring) place!