Learn How To Draw A Bear Mask Quickly
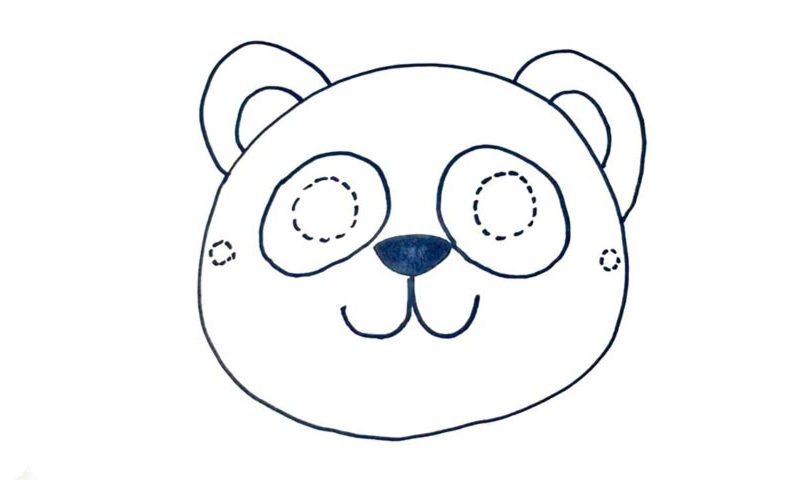
This is a very basic and simple drawing. Yet, it looks stylish and mysterious, which is pretty cool. The biggest and most important part of this how to draw A Bear Mask tutorial is, of course, the head (00 min 14 sec). You’ll need a rather curvy but not super-smooth circle in the middle for that. It looks more like a stone or a potato, to be honest.
The ears are the next step (00 min 23 sec). All you’ll need to complete each ear is a set of two C-like curves sitting on top of each other. Now the whole thing resembles a pot, right? The nose sits in the center of the huge circle we drew earlier and should be colored in black (00 min 35 sec). For the mouth, use two opposite vertical curves.
The eyes, the next step in this how to draw A Bear Mask tutorial are very big (01 min 00 sec). Add dotted circles inside for a more realistic look. Ok, that’s it! All that’s left to do is create two copies of those circles right below each eye (01 min 27 sec).
Before you learn how to draw A Bear Mask, did you know?
Take a good look at that mask: isn’t it a little creepy? If the answer is no, then, by all means, put it on and have fun! Masks have been around for many centuries, allowing the spies, the warriors, and even the politicians to hide their faces from the rest of the world. This bear mask is pretty harmless and will be great at a little kid’s birthday party.
But back in the day, in the high societies, people used masks to prove their loyalty to certain under-the-radar cults. These kinds of communities are still a part of the world, but they’re not really as powerful today. In spiritualism and certain religions, masks mean very different things. In some, they represent the good in us, while in others, they are the harbingers of doom.
